Editing employee payroll information
You can update payroll information for existing employees in a department using the Edit Employee Data dialog, which contains six tabs described in detail below.
NOTE: Generally, this dialog is used for one-time adjustments for an individual employee. All employees receive the merit increase associated with their pay grade, and bonuses are based on the information provided in the payroll file for existing and projected bonus percentages.
TIP: By default, the Edit Employee Data dialog displays the editing tab with the same name as the sub-tab on the plan file page where you clicked the notepad icon. (For example, clicking the notepad icon on the Bonus sub-tab of the plan file page displays the Bonus tab of the dialog.)
To edit payroll data for an existing employee:
-
From the FI Home page, click Payroll Planning.

Click to enlarge image
-
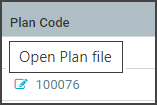
On the Payroll Planning home page, click the notepad icon in the Plan Code column for the department for which to update payroll information.
Click to enlarge image

-
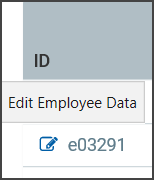
On the Planning tab of the planning page for the department, click the notepad icon in the ID column for the employee for whom to update payroll information.

Click to enlarge image
-
In the Edit Employee Data dialog, enter or select the applicable information in the fields provided in the following tabs, each of which displays different data columns, as described below:
NOTE: Although the sub-tabs of the plan file page have the same names as tabs in this dialog, the tables in this dialog have different column headings than the corresponding tables on the plan file page.
- Click Apply as needed to save data entries or selections.
- When you are done updating payroll information for the employee, click Close.
Enter the salary information to update for the employee, using the boxes in the following table. All other fields in this table are read-only or calculated automatically.
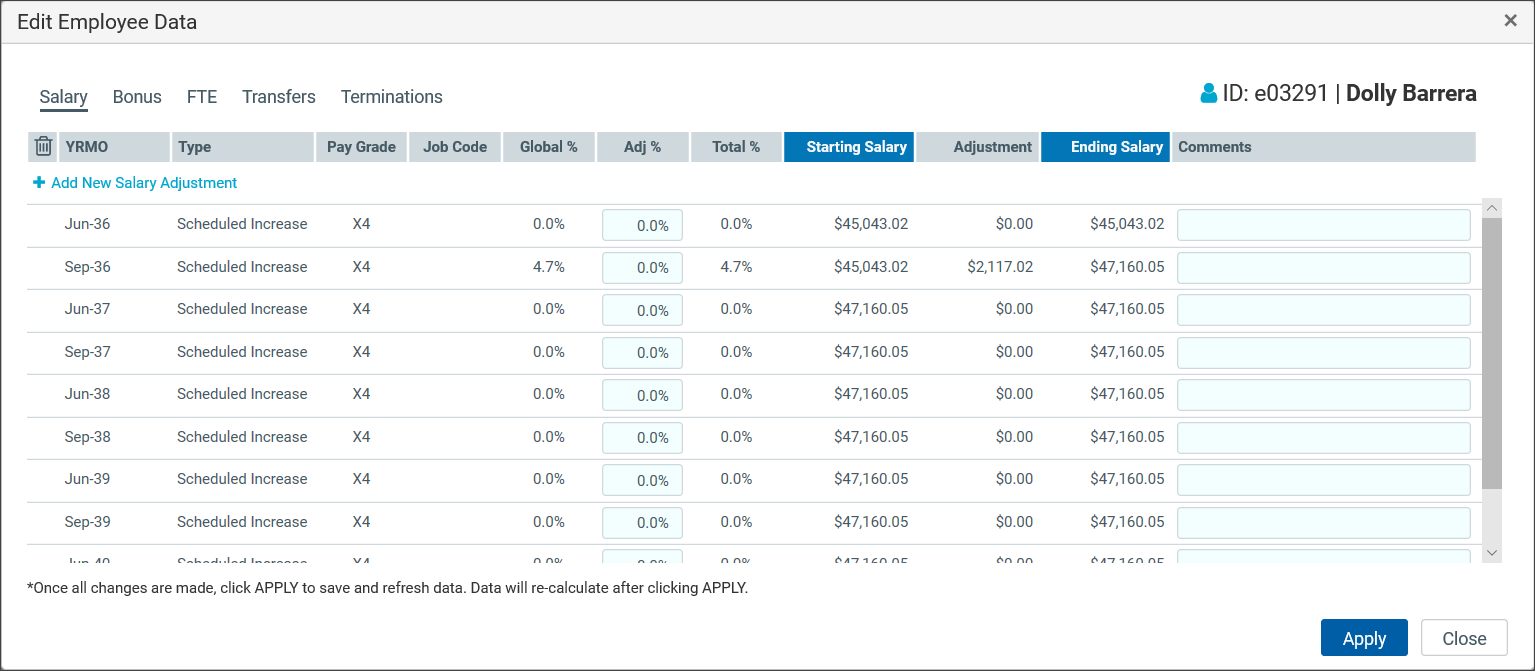
TIP: On the Salary tab only, clicking Add New Salary Adjustment adds a new row at the top of the table where you can select from the drop-down lists for Date, Pay Grade, and Job Code, then enter comments explaining the adjustment in the Comments field. Generally, this function is used for a promotion or for a salary increase in addition to the scheduled merit increase or at a different time than the scheduled merit increase.

| Field | Action |
|---|---|
| Adj% |
Type the percentage of salary increase. |
| Comments | Type comments as needed. |
Enter the percentages for bonuses approved by an employee's manager (separate from centrally projected bonuses for a plan group), using the text boxes in the following table. All other fields in this table are read-only or calculated automatically.
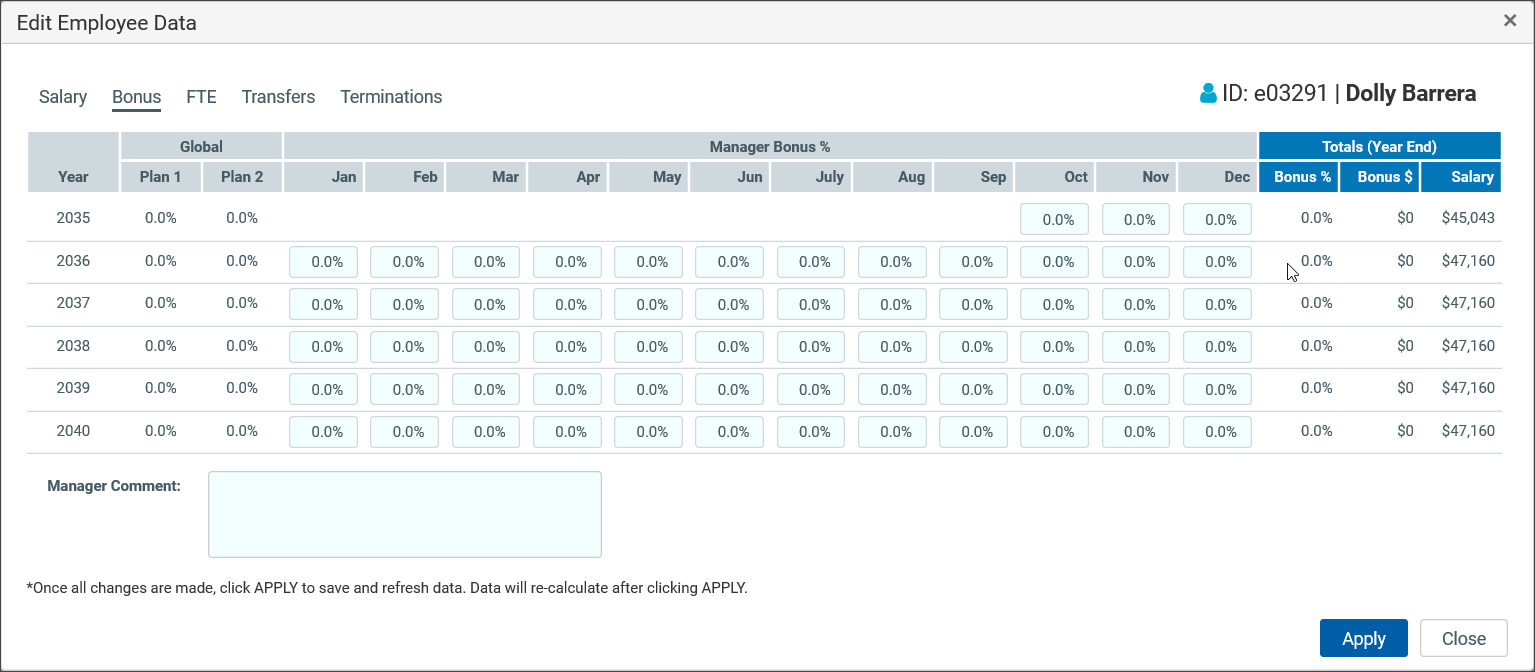
NOTE: You can budget bonus payments by employee as a percentage of the annual salary projected for the year in which the bonuses are paid. Enter these as annual percentages in the period paid. You can also enter rates monthly to approximate a monthly expense.
| Field | Action |
|---|---|
| Manager Bonus % | In any of the month columns under this heading, locate the month in which the employee's manager approved a bonus payment and type the percentage of bonus approved by the manager. |
| Manager Comment | Type comments as needed. |
If applicable, for any months in which an employee worked part-time, type the decimal value for the percentage of full-time hours that the employee worked in that month in the text box for that month (for example, .50 for a half-time employee). This information may be used to project seasonal hours for applicable positions.
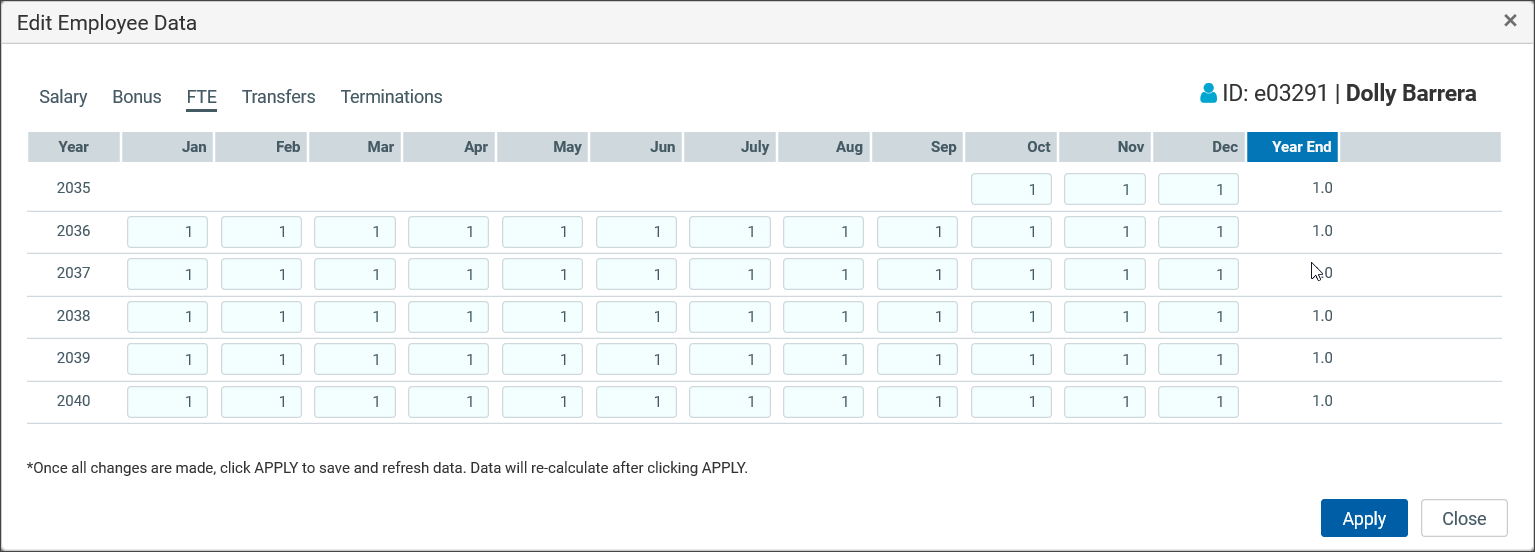
NOTE: The default FTE value for full-time employees is 1.
Use the Transfers tab to initiate a transfer of an employee to another department. The AllowEmployeeTransfers file group variable must have a value of Yes to enable employee transfers.
TIP: If the page displays Transfers not currently allowed in the upper right corner of this tab, transfers are not allowed for this employee. If a transfer has been denied for an employee, an administrator can clear this message in the Payroll Transfer Utility in the Desktop Client.
NOTE: The system automatically approves employees transferred between departments within a plan file. This enables the plan manager to make merit adjustments and promotion adjustments after a transfer rather than waiting for an approval to process.
![]()
Enter or select the transfer information to update for the employee, if applicable, using the text boxes and lists in the following table. All other fields in the table are read-only.
| Field | Action |
|---|---|
| Date | Select an effective month for the transfer. The transfer will be in effect as of the first of the effective month. All merit increases and promotion actions before the effective month are factored into salary expense calculations. |
| Target Dept | Select a target department to which the employee will be transferred. |
| Enable? |
Select Yes or No. NOTE: If enabled by the administrator for the file group, this option allows you to enable the transfer by selecting Yes or disable the transfer by selecting No. If this option is disabled by the administrator, this field is dimmed. |
| Manager Comment | Enter a comment to explain the transfer. |
Updating termination information
Use the Terminations tab to initiate a payroll planning record of a termination.
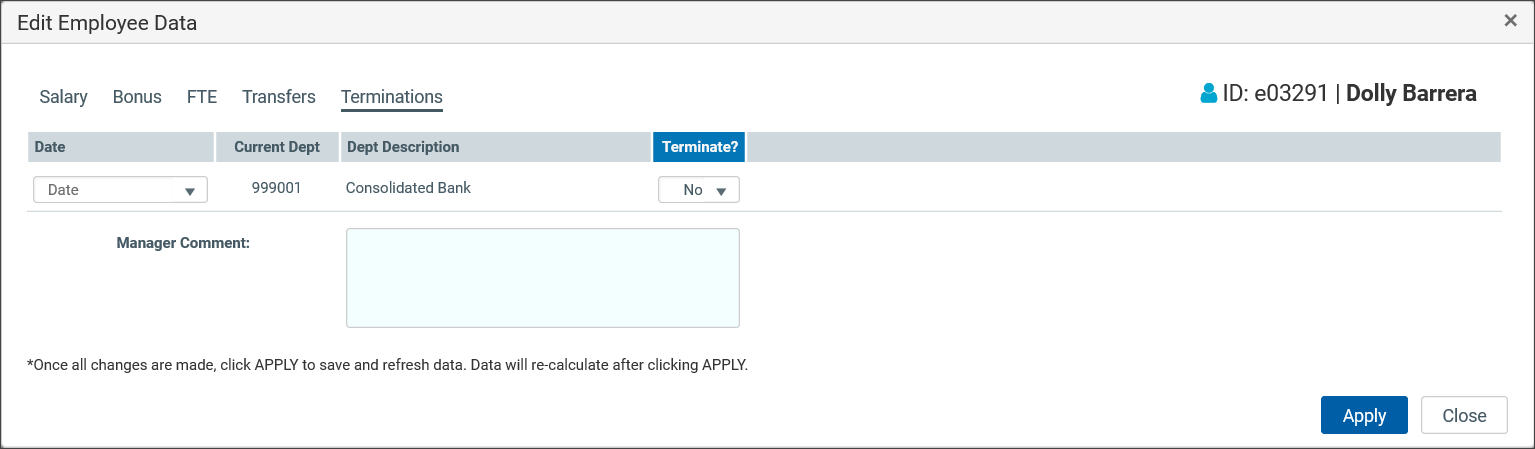
Enter or select the termination information to update for the employee, if applicable, using the text boxes and lists in the following table. All other fields in the table are read-only.
| Field | Action |
|---|---|
| Date | Select an effective month for the termination. The termination will be in effect as of the first of the effective month. All merit increases and promotion actions before the effective month will be active for the salary expense calculations. |
| Terminate? | To terminate the employee, select Yes; otherwise, select No. |
| Manager Comment | Type a comment to explain the termination. Depending on how the system is set up for your organization, you may be required to complete this field for all entries. |
